You’ve built a React app. Now you need to get it online. Paying for hosting before you have users is wasteful. Netlify gives you free, professional-grade hosting with continuous deployment.
In this guide, I’ll show you exactly how to deploy your React app to Netlify in under 10 minutes. No credit card required.
New to React? Compare it with Vue and Angular first
Table of Contents
What is Netlify?
URL: netlify.com
Netlify is a hosting platform for static websites and single-page applications. It connects directly to your GitHub repository and deploys automatically every time you push code. The free tier includes 100GB of bandwidth and 300 build minutes per month — plenty for most personal projects.
Why Netlify is great for React apps:
- Completely free for personal projects
- Automatic deploys from GitHub, GitLab, or Bitbucket
- Custom domain support (free SSL certificate)
- Built-in form handling (no backend needed)
- Serverless functions (if you need API endpoints)
- Instant cache invalidation
Prerequisites
Before you start, make sure you have:
- A React app ready to deploy (run
npm run buildlocally to test) - A GitHub account (free)
- Your React app pushed to a GitHub repository
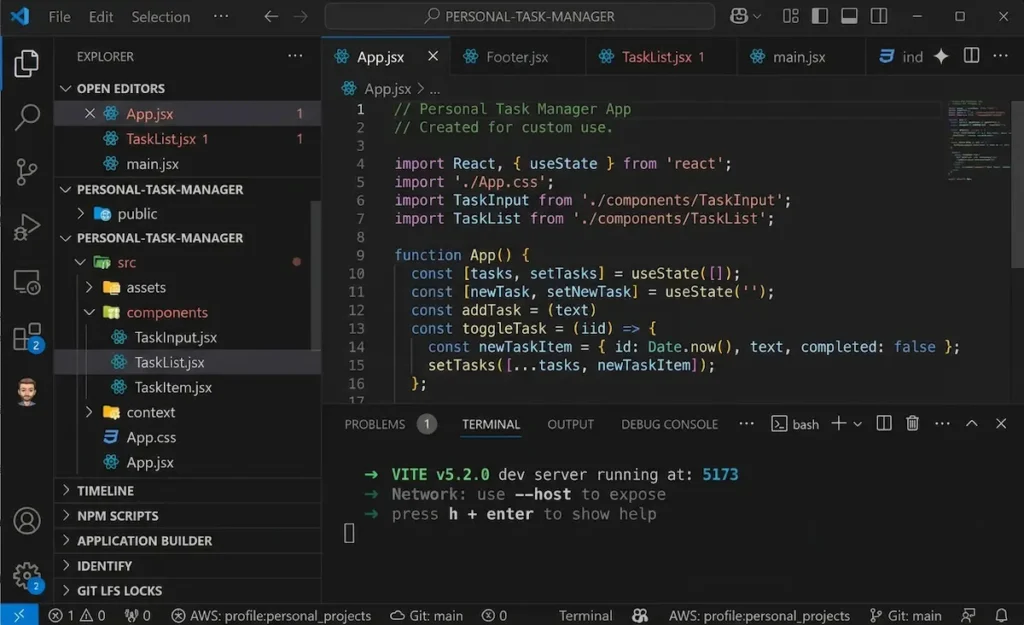
If you don’t have a React app yet, create one quickly:
npx create-react-app my-app
cd my-app
npm start
Step 1: Push Your React App to GitHub
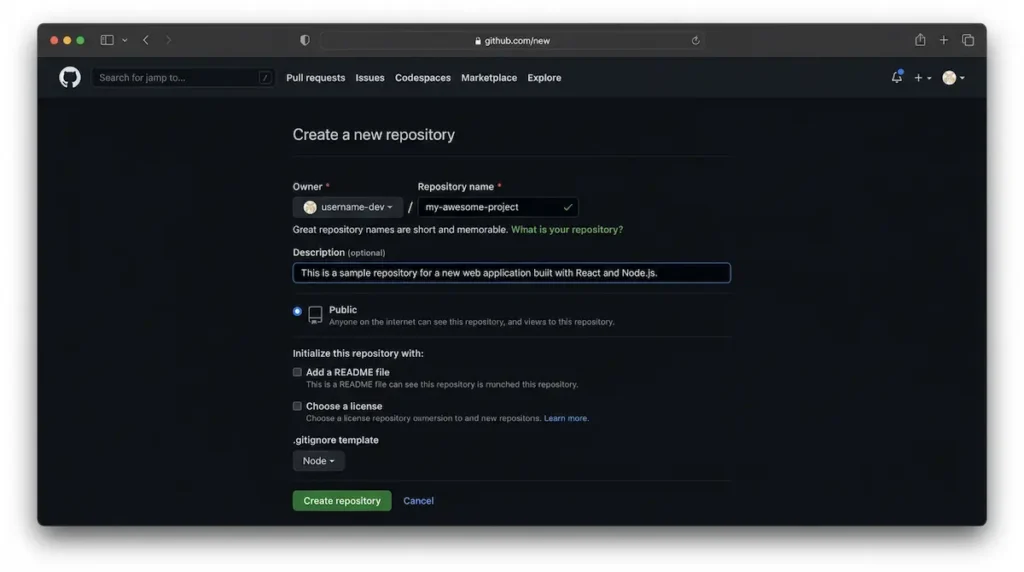
Netlify deploys directly from your Git repository. First, get your code on GitHub.
Commands to run in your terminal:
git init
git add .
git commit -m "first commit"
git branch -M main
git remote add origin https://github.com/your-username/your-repo-name.git
git push -u origin main
Replace your-username and your-repo-name with your actual GitHub username and repository name.
Step 2: Sign Up for Netlify
Go to netlify.com and click “Sign up”. Choose “GitHub” as your signup method. This connects your GitHub account to Netlify.
Authorize Netlify to access your GitHub repositories. This is safe and required for automatic deployments.
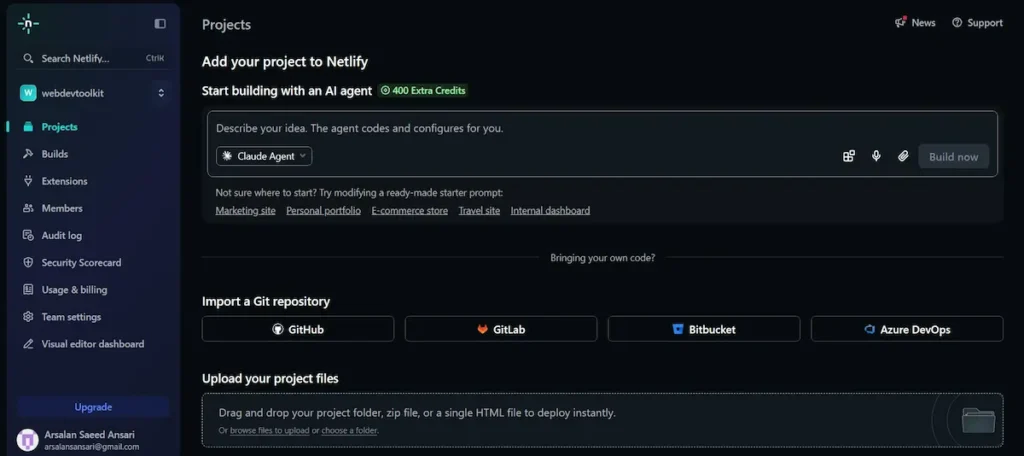
Step 3: Deploy Your React App
Once logged in:
- Click “Add New Site” → “Import an existing project”
- Choose “Deploy with GitHub”
- Authorize Netlify if prompted
- Select your React app repository from the list
Netlify will auto-detect that you’re deploying a React app. Verify these settings:
- Build command:
npm run build - Publish directory:
build
Click “Deploy site”.
Add your own domain with free SSL
Step 4: Watch Your Deployment
Netlify will now build and deploy your React app. The process usually takes 1-2 minutes. You’ll see a live log of what’s happening:
- Fetching latest code from GitHub
- Running
npm install - Running
npm run build - Deploying to CDN
When complete, Netlify gives you a random subdomain like your-app-name.netlify.app. Click it to see your live React app.
Step 5: Set Up Automatic Deploys
Netlify automatically watches your GitHub repository. Every time you push new code to the main branch, Netlify will rebuild and redeploy your app automatically. No manual steps required.
To confirm, check “Deploy settings” in your Netlify dashboard. You should see:
- Branch deploys: Enabled
- Auto-publishing: On
Step 6: Add a Custom Domain (Optional)
The .netlify.app domain is fine for testing. For a professional project, add your own domain.
Steps to add a custom domain:
- In your Netlify dashboard, go to “Domain management”
- Click “Add custom domain”
- Enter your domain (e.g.,
my-react-app.com) - Update your domain’s DNS settings with Netlify’s nameservers
- Netlify automatically provisions a free SSL certificate
Troubleshooting Common Deployment Issues
Issue: Build fails with “Module not found”
Solution: Make sure all dependencies are listed in package.json. Check that file names match imports exactly (they are case-sensitive).
Issue: Blank page after deployment
Solution: Your React app might need a _redirects file for client-side routing. Create a file in the public folder called _redirects with this content:
/* /index.html 200Issue: Environment variables not working
Solution: In Netlify dashboard, go to “Site settings” → “Environment variables”. Add your variables there. They must start with REACT_APP_ to be accessible in a Create React App project.
Comparing Netlify to Other Free Hosting Options
| Feature | Netlify | Vercel | GitHub Pages |
|---|---|---|---|
| Free tier | ✅ Good | ✅ Good | ✅ Good |
| Automatic deploys from Git | ✅ Yes | ✅ Yes | ✅ Yes |
| Custom domain (SSL) | ✅ Yes | ✅ Yes | ✅ Yes |
| Build minutes (free) | 300/month | 6,000/month | Unlimited |
| Bandwidth (free) | 100GB/month | 100GB/month | 100GB/month |
| Serverless functions | ✅ 125k requests/month | ✅ Yes | ❌ No |
| Easiest for beginners | ✅ Very easy | ✅ Very easy | ⚠️ Requires setup |
All three are excellent free options. Netlify is the most beginner-friendly and has the largest community of React developers.
Populate your React app with these free APIs
Final Thoughts
Deploying a React app used to be complicated. You needed to rent a server, configure NGINX, set up SSL certificates, and manually upload files. Netlify handles all of that for you in 10 minutes.
Now that your app is live, share it with the world. Every time you push code to GitHub, your site updates automatically.
What React app did you deploy? Let me know in the comments below.
✍️ Want to Contribute?
WebDevToolkit accepts high-quality guest posts from web developers, SEO professionals, and digital marketers.
✅ Do-follow backlink included
✅ Published within 5 days
✅ Shared with 1,000+ monthly readers