Docker has changed how developers build and test WordPress sites. Instead of installing XAMPP or MAMP and manually configuring PHP versions, you can spin up a complete WordPress environment in minutes using containers. Everything is isolated, reproducible, and matches your production server.
In this guide, I will show you exactly how to set up WordPress with Docker. You will have a fully functional local WordPress site running in containers, ready for development.
New to local development? Start with our beginner guide
Table of Contents
What is Docker?
URL: docker.com
Docker is a platform for developing, shipping, and running applications in containers. A container is a lightweight, standalone, executable package that includes everything needed to run software: code, runtime, system tools, libraries, and settings.
Why Docker for WordPress development:
- Identical environment across development, staging, and production
- No need to install PHP, MySQL, or Apache on your host machine
- Easy to switch PHP versions for different projects
- Isolated projects never conflict with each other
- Share your exact environment with team members
Prerequisites
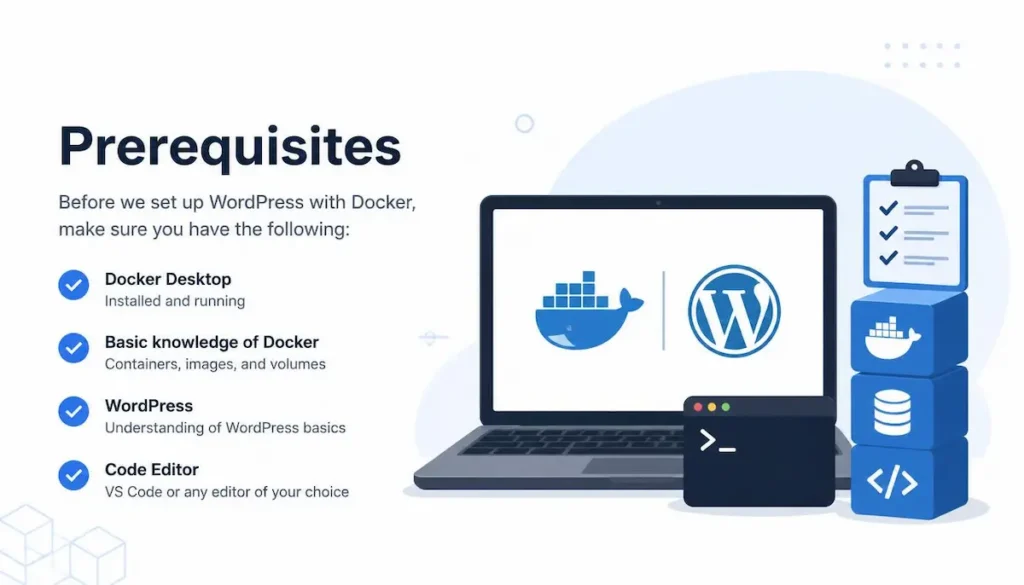
Before you start, make sure you have:
- Docker Desktop installed on your computer (download here)
- Docker Desktop running (you will see the Docker icon in your system tray or menu bar)
- Basic familiarity with the command line (terminal on Mac/Linux, Command Prompt or PowerShell on Windows)
Option 1: Docker Compose (Recommended)
Docker Compose is the easiest way to run WordPress with Docker. A single YAML file defines all the services your WordPress site needs: WordPress itself, MySQL database, and phpMyAdmin (optional).
Step 1: Create a Project Folder
Open your terminal and create a new folder for your WordPress project:
mkdir my-wordpress-site
cd my-wordpress-site
Step 2: Create docker-compose.yml File

Create a file named docker-compose.yml in your project folder. Copy and paste this configuration:
version: '3.8'

services:
  wordpress:
    image: wordpress:latest
    ports:
      - "8080:80"
    environment:
      WORDPRESS_DB_HOST: db
      WORDPRESS_DB_USER: wordpress
      WORDPRESS_DB_PASSWORD: wordpress
      WORDPRESS_DB_NAME: wordpress
    volumes:
      - ./wp-content:/var/www/html/wp-content
    depends_on:
      - db
    restart: unless-stopped

  db:
    image: mysql:8.0
    command: '--default-authentication-plugin=mysql_native_password'
    environment:
      MYSQL_DATABASE: wordpress
      MYSQL_USER: wordpress
      MYSQL_PASSWORD: wordpress
      MYSQL_ROOT_PASSWORD: rootpassword
    volumes:
      - db_data:/var/lib/mysql
    restart: unless-stopped

  phpmyadmin:
    image: phpmyadmin/phpmyadmin
    ports:
      - "8081:80"
    environment:
      PMA_HOST: db
    restart: unless-stopped

volumes:
  db_data:
Step 3: Start WordPress Containers
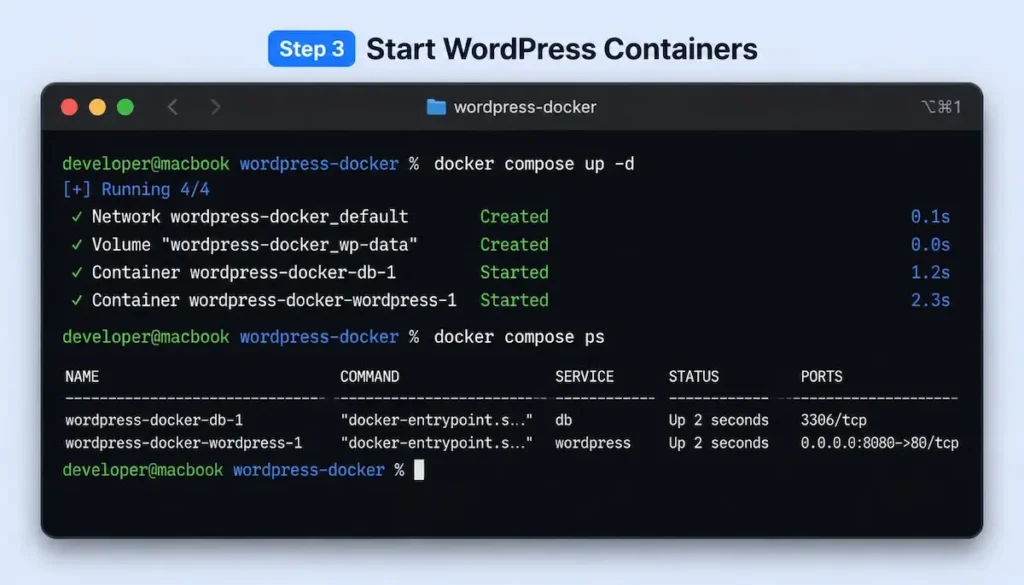
In your terminal, run:
docker-compose up -dThe -d flag runs containers in detached mode (in the background). Docker will download the required images (WordPress, MySQL, phpMyAdmin) and start all three containers.
This may take 5-10 minutes on the first run as Docker downloads the images. Subsequent runs will be much faster.
Step 4: Access Your WordPress Site
Open your browser and go to:
- WordPress site:
http://localhost:8080 - phpMyAdmin (database management):
http://localhost:8081
You will see the WordPress installation screen. Follow the setup wizard to complete your installation.
Step 5: Useful Docker Compose Commands
# Stop all containers
docker-compose down

# Stop and remove containers (clean slate, preserves database)
docker-compose down

# Stop, remove containers, and delete database volume (complete reset)
docker-compose down -v

# View container logs
docker-compose logs -f

# Rebuild containers after changing docker-compose.yml
docker-compose up -d --build

# Access WordPress container shell
docker-compose exec wordpress bash
Move from Docker to production on Cloudways
Option 2: Official WordPress Docker Image (Simpler, No Compose)
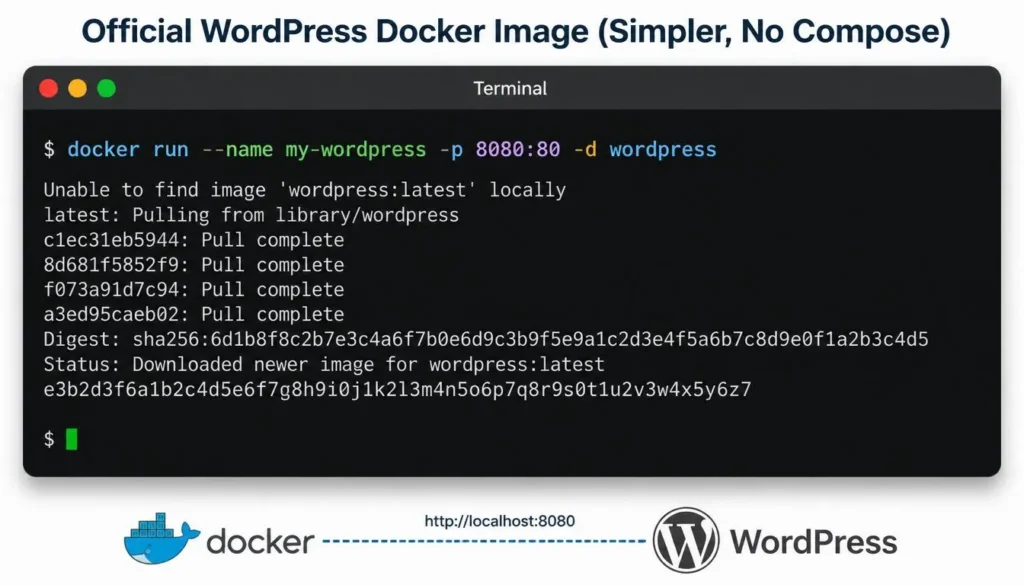
If you just want to test WordPress quickly without Docker Compose, you can run the official WordPress image with a single command that also starts a MySQL container:
docker run --name my-wordpress -p 8080:80 -d wordpressThis is fine for testing but not ideal for development. The Docker Compose method (Option 1) gives you better control over volumes, backups, and multiple environments.
Understanding Your Docker Setup
How the Containers Work Together
- wordpress container: Runs the WordPress application using PHP and Apache
- db container: Runs MySQL database to store your posts, pages, and settings
- phpmyadmin container: Provides a web interface to manage your database
Where Your Files Are Stored
Notice this line in the docker-compose.yml file:
volumes:
  - ./wp-content:/var/www/html/wp-content
This mounts the wp-content folder from your host machine into the WordPress container. Any themes or plugins you add to the ./wp-content folder will be immediately available in WordPress. Your database is stored in a named volume db_data, which persists even when containers stop.
Customizing Your Docker WordPress Setup
Using a Different PHP Version
Replace wordpress:latest with a specific PHP version:
image: wordpress:php8.2-apache  # PHP 8.2
image: wordpress:php8.1-apache  # PHP 8.1
image: wordpress:php7.4-apache  # PHP 7.4
Adding WP-CLI
WP-CLI is a command-line tool for managing WordPress. Add a new service to your docker-compose.yml:
wpcli:
  image: wordpress:cli
  volumes:
    - ./wp-content:/var/www/html/wp-content
  depends_on:
    - db
    - wordpress
  entrypoint: wp --allow-root
Then run commands like:
docker-compose run --rm wpcli plugin install akismet --activateEnabling Xdebug for Debugging
Add configuration to enable Xdebug in your WordPress container using a custom Dockerfile:
FROM wordpress:latest
RUN pecl install xdebug && docker-php-ext-enable xdebug
Then reference this custom image in your docker-compose.yml instead of the official wordpress image.
Troubleshooting Common Docker Issues
Issue: Port 8080 is already in use
Solution: Change the port mapping in docker-compose.yml. Replace "8080:80" with another port like "8085:80". Then access WordPress at http://localhost:8085.
Issue: “Permission denied” errors when writing files
Solution: This is common on Linux. Stop containers with docker-compose down, then run:
sudo chown -R $USER:$USER ./wp-contentThen restart containers with docker-compose up -d.
Issue: MySQL connection error
Solution: Wait 30-60 seconds after starting containers. MySQL needs time to initialize. Check logs with docker-compose logs db to see when MySQL is ready.
Issue: Docker Desktop not running
Solution: Open Docker Desktop from your applications. Wait for the Docker icon to stop animating, indicating it is ready. Then try the docker-compose command again.
Docker vs Other Local WordPress Solutions
| Solution | Pros | Cons | Best For |
|---|---|---|---|
| Docker(For advanced users)</telecom) | Reproducible environments, matches production, no PHP/MySQL install needed | Steeper learning curve, Docker Desktop uses resources | Developers who need exact production parity |
| Local WP | Beginner friendly, one-click setup, free | Less control, harder to match custom production setups | Beginners and content creators |
| XAMPP/MAMP | Simple, works everywhere, no Docker required | Manual PHP version management, not isolated per project | Quick testing, legacy projects |
Moving from Docker to Production
When your site is ready for production, you have options:
- Use a managed WordPress host like Cloudways or WP Engine (easiest)
- Deploy your Docker containers to a VPS using Docker Compose in production
- Use a platform like Laravel Forge or Ploi to manage server deployment
For most WordPress sites, moving to a managed host is the simplest path. Docker is excellent for development but adds complexity in production that many sites do not need.
Learn Docker and WordPress from these GitHub repos
Final Thoughts
Setting up WordPress with Docker gives you complete control over your development environment. Once you have your docker-compose.yml file configured, you never need to install PHP, MySQL, or Apache on your host machine again.
The time investment in learning Docker pays off quickly. You can spin up a new WordPress site in seconds, switch PHP versions between projects, and share your exact environment with teammates.
Are you using Docker for WordPress development? What challenges have you faced? Let me know in the comments below.
✍️ Want to Contribute?
WebDevToolkit accepts high-quality guest posts from web developers, SEO professionals, and digital marketers.
✅ Do-follow backlink included
✅ Published within 5 days
✅ Shared with 1,000+ monthly readers