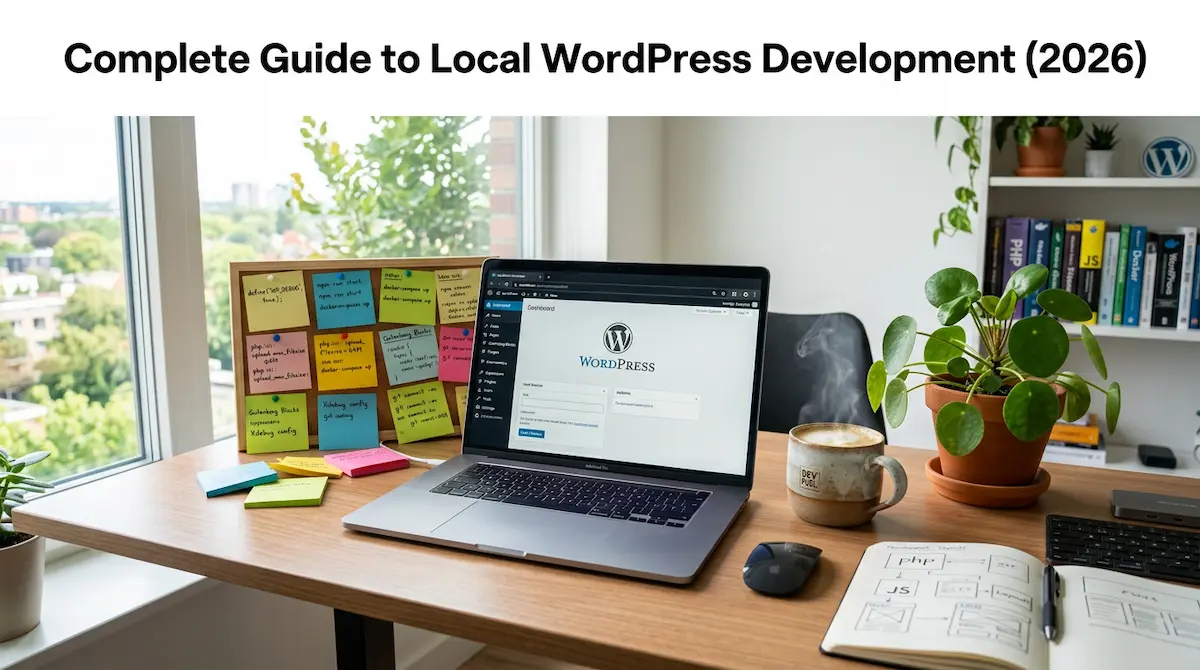
Developing WordPress sites directly on a live server is risky. One broken plugin or syntax error can take your entire site down. That’s why every professional developer uses a local development environment.
In this guide, I’ll show you exactly how to set up WordPress on your computer in 2025. No prior experience needed.
Table of Contents
What is Local WordPress Development?
Local development means running WordPress on your own computer instead of a web hosting server. Your computer becomes the server. You can build, test, and break things without affecting your live site.
Benefits:
- No internet connection required
- Extremely fast (no network latency)
- Safe to experiment and break things
- Free (no hosting costs)
- Easy to create backups and snapshots
Option 1: Local WP (Easiest for Beginners)
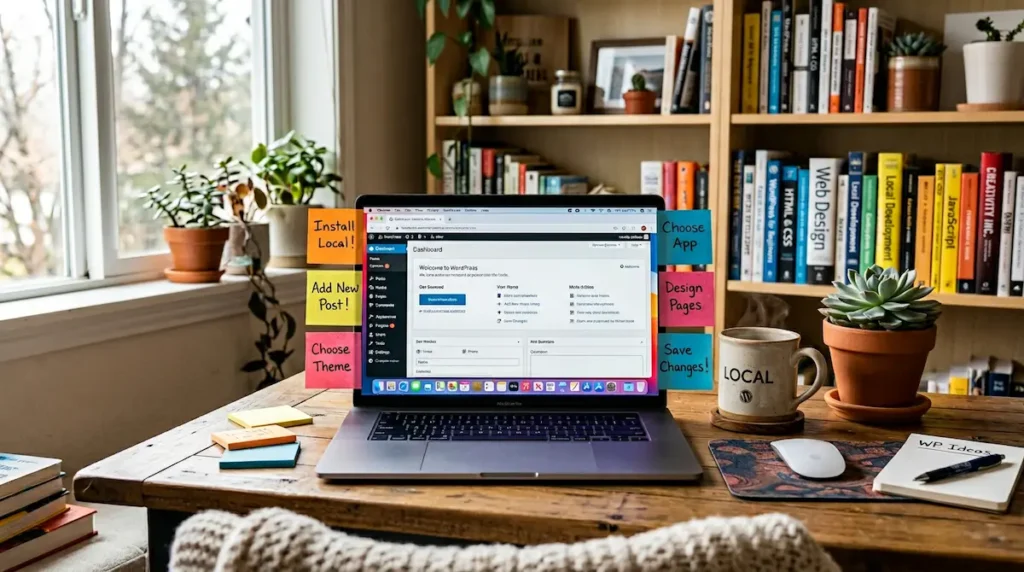
Local WP (formerly Local by Flywheel) is the most beginner-friendly option. It’s completely free and works on Windows, Mac, and Linux.
Step-by-step:
- Step 1: Go to localwp.com and download the free software
- Step 2: Install and launch Local WP
- Step 3: Click “Create a new site”
- Step 4: Name your site (e.g., “my-wordpress-test”)
- Step 5: Choose “Preferred” environment settings
- Step 6: Set your WordPress username and password
- Step 7: Click “Create Site” and wait 30 seconds
- Step 8: Click “WP Admin” to access your WordPress dashboard
That’s it. You now have a fully functional WordPress site running on your computer.
Option 2: XAMPP (More Control, Still Free)
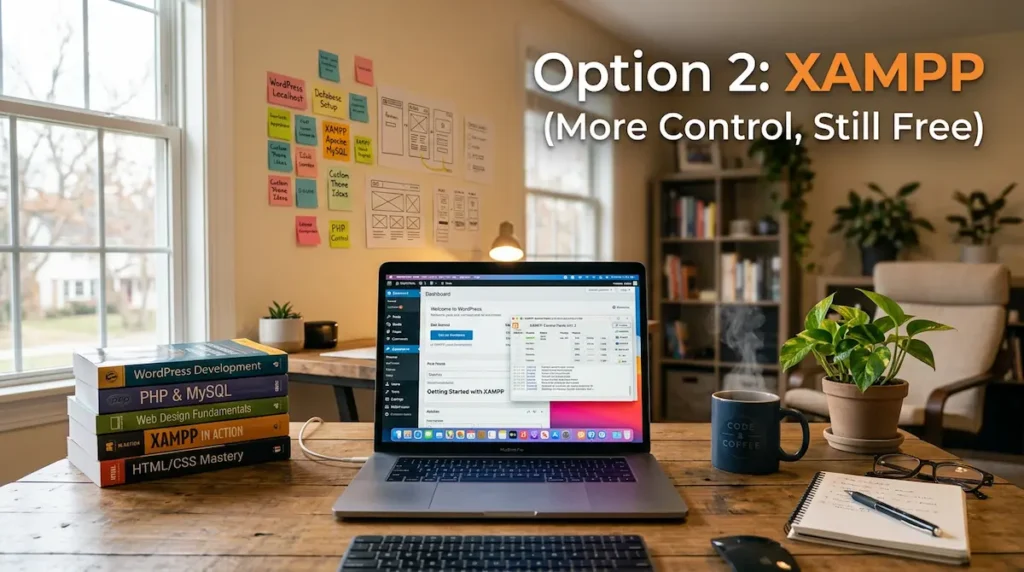
XAMPP is a free, open-source local server environment. It’s slightly more technical than Local WP but gives you more control.
Step-by-step:
- Step 1: Download XAMPP from apachefriends.org
- Step 2: Install XAMPP (keep default settings)
- Step 3: Open XAMPP Control Panel
- Step 4: Click “Start” next to Apache
- Step 5: Click “Start” next to MySQL
- Step 6: Go to http://localhost/phpmyadmin in your browser
- Step 7: Create a new database (name it “wordpress_local”)
- Step 8: Download WordPress from wordpress.org
- Step 9: Extract WordPress to C:/xampp/htdocs/your-site-name
- Step 10: Go to http://localhost/your-site-name and follow WordPress setup
Option 3: Docker (For Advanced Developers)
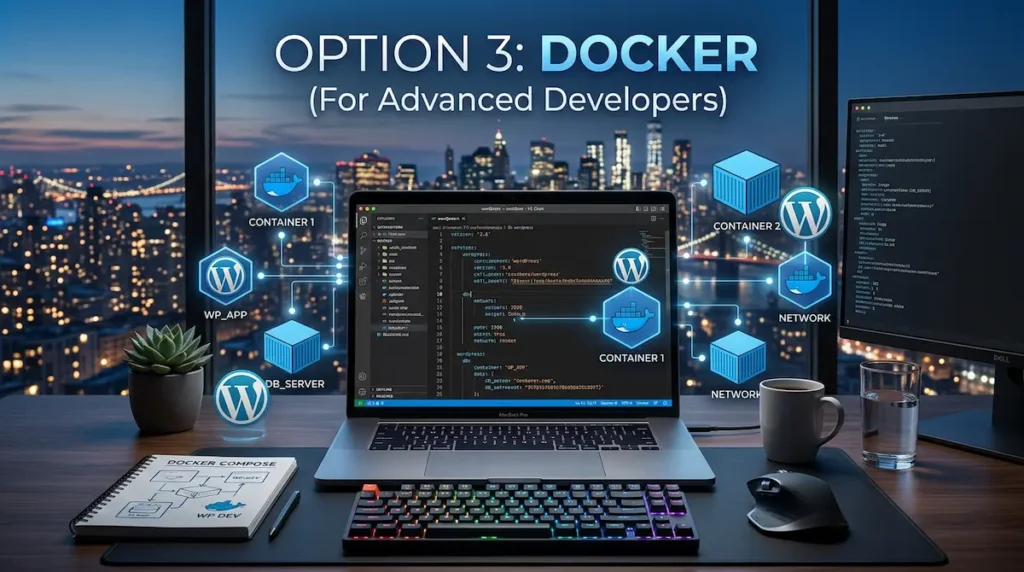
Docker is the most powerful option but has the steepest learning curve. Use this if you need to exactly match your production server environment.
Popular Docker-based WordPress solutions:
- WordPress Development Environment (github.com/10up/wp-local-docker-v2)
- Lando (lando.dev) – Works with WordPress and many other platforms
- DevKinsta (kinsta.com/devkinsta) – Kinsta’s free local development tool
Moving from Local to Live Server
Once you’ve built your site locally, you need to move it to a live server. Here’s how:
- Using a migration plugin: Install “All-in-One WP Migration” or “Duplicator” on your local site. Export the site. Import on your live server.
- Manual migration: Export your local database via phpMyAdmin. Upload WordPress files via FTP. Update wp-config.php with live database credentials.
Best Practices for Local Development
- Use version control (Git) – Track every change you make
- Create backups before major changes – Both Local WP and XAMPP support snapshots
- Match your live environment – Use the same PHP version locally as your host uses
- Never commit sensitive data – Keep wp-config.php out of version control
- Test plugin/theme updates locally first – Never update directly on a live site
Final Thoughts
Local WordPress development is a non-negotiable skill for professional developers. Start with Local WP if you’re a beginner. Move to XAMPP or Docker when you need more control.
What local development tool do you use? Let me know in the comments below.
✍️ Want to Contribute?
WebDevToolkit accepts high-quality guest posts from web developers, SEO professionals, and digital marketers.
✅ Do-follow backlink included
✅ Published within 5 days
✅ Shared with 1,000+ monthly readers